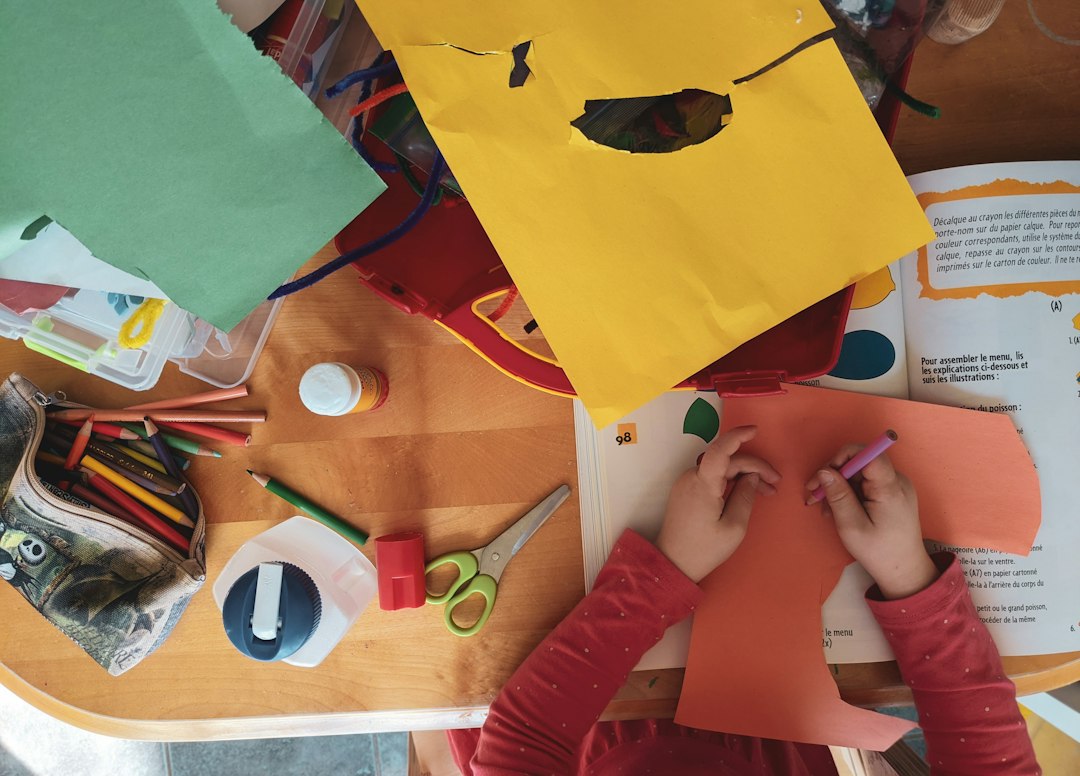
Mastering the open-and-close motion of scissors takes significant intrinsic muscle control. Starting with narrow paper strips rather than complex shapes gives beginners the immediate satisfaction of a successful cut with just one single snip.
The Simple Secret to Teaching Scissor Skills
We’ve all been there. You hand a toddler a pair of safety scissors, hand them a full sheet of paper, and watch the frustration unfold in seconds.
The paper bends. The scissors twist sideways. Your little one gets discouraged, wails, and throws the shears across the table.
Here is the truth: starting with a full 8.5×11 sheet of paper is just too much to handle at first. It requires holding, steering, and cutting simultaneously. That is way too complex for tiny hands still developing basic motor control.
The secret weapon? Narrow paper strips. Cutting through a single thin strip requires just one quick snip. That fast win builds huge confidence and masters the foundational scissor skills preschool educators look for.
Why Scissor Skills Preschool Development Starts with Paper Strips
When preschoolers cut paper strips, they get instant gratification. One squeeze of the handles, and snip—a piece falls off into the bin. That immediate feedback loops straight back into their motivation.
From a developmental standpoint, paper strips strip away all the awkward maneuvering. Your child doesn’t have to figure out how to rotate a giant sheet while keeping their thumb pointing upward.
According to the American Academy of Pediatrics guide on preschool milestones, refined hand-eye coordination and dual-hand control mature significantly between ages three and four. Cutting narrow strips lets them practice this dual control safely.
One hand acts as the anchor holding the paper, while the dominant hand operates the tool. This skill—known as bilateral coordination—is crucial for writing, dressing, and tying shoes down the road.
Setting Up Easy Toddler Cutting Practice at Home
You don’t need fancy tools or pricey kits to set up an effective cutting station. In fact, recycled materials around your house work best.
Here is everything you need to pull together a quick cutting session in under two minutes:
- Blunt-tip child safety scissors: Look for metal blades wrapped in plastic, not pure plastic blades which chew paper.
- Stiff paper strips: Cut cardstock, old cereal boxes, or junk mail flyers into 1-inch wide strips. Stiffer paper gives extra resistance and won’t flop over.
- A catch bucket: A simple plastic bowl, recycled shoe box, or tray to catch all the bits.
- A sharpie marker: Draw tiny smiley faces directly on your child’s thumbs.
That smiley face trick works absolute wonders. Just tell your kiddo, “Keep the smiley face looking up at the ceiling the whole time!” It naturally corrects hand rotation without constant nagging.
5 Hands-On Activities to Boost Scissor Skills Preschoolers Love
Ready to turn simple paper strips into engaging play? These five low-prep games keep little hands busy while building serious hand strength.
1. The Confetti Factory
Give your child a stack of brightly colored paper strips and a deep plastic bowl. Challenge them to snip the strips into little bits to make party confetti.
Saving the bits for later glued collage art adds extra purpose. You can easily find template designs for gluing in our free printable worksheets library to extend the activity seamlessly.
2. Trimming the Grass
Take green cardstock strips and draw vertical pencil lines along them. Have your child make straight snips along the line stopping halfway to make textured grass.
Pop the fringed grass along the wall of a toy barnyard. Your preschooler will love bringing toy farm animals over to “graze” on their handiwork!
3. The Dashed Line Challenge
Once single snips are easy, draw single black lines across 1-inch strips. This teaches your child visual-motor integration—matching hand squeezes with visual markers.
Start with wide spacing between lines. As their precision improves, move the lines closer together to refine control.
4. Fringe Monster Hairstyles
Draw simple monster faces at the bottom of 2-inch wide paper strips. Draw long vertical lines extending up from the head to represent hair.
Ask your child to give the monster a hair trim by cutting up each line. Kids get an absolute kick out of giving their monsters funky new haircuts.
5. Paper Chain Snipping
Make a classic loop paper chain out of colorful strips. Hand your child the scissors and let them cut through each loop to break the links.
Cutting through curved, looped paper offers a fun tactile feedback change that keeps older preschoolers challenged.
Teacher’s Pro Tip: Never throw away old junk mail or thick coupon inserts! Cut them into 1-inch strips and store them in a ziplock bag. They provide the perfect rigid paper texture for daily 5-minute cutting warmups before tabletop activities.
Troubleshooting Common Scissor Cutting Frustrations
Even with paper strips, your child might run into a few bumps along the road. Here is how to handle the three most common hurdles smoothly.
The Scissors Keep Turning Sideways
When scissors turn horizontally, the paper simply slips between the blades instead of cutting. This happens because the child’s wrist muscles are still weak.
Remind them about the smiley face on their thumb. If the wrist keeps flopping, switch to thicker stock like index cards or cereal box board to keep things rigid.
Using Both Hands to Squeeze
If you notice your toddler using both hands to push the scissor handles shut, the hand loop is likely too stiff or the blades are stuck.
Loosen the center screw slightly or invest in spring-action scissors. Spring-action tools automatically pop open after every snip, taking half the effort off small hands.
Tearing Paper Instead of Snipping
Tearing means your little one is pulling the paper away before the cut finishes. Keep your hand holding the far end of the paper strip taut to give them solid resistance.
Building Fine Motor Strength Beyond Scissor Snipping
Remember, scissors are just one piece of the fine motor puzzle. Hand strength and finger isolation develop through many types of physical play.
If your child gets tired quickly during toddler cutting practice, switch to grip-building warmups like these:
- Squeezing spray bottles in the bath or sink.
- Pinching playdough with thumb and index finger.
- Using plastic kitchen tongs to pick up pom-poms or pasta.
- Popping big plastic bubble wrap on the floor.
Blending these play-based exercises alongside paper strip snipping keeps frustration low and progress steady.
How Paper Strips Lead to Early Writing Success
It might seem like paper cutting has nothing to do with holding a pencil, but the muscle connections are identical.
The exact same hand muscles used to manipulate scissor handles form the tripod grip required for pencil control. Strong scissors performance directly translates to smoother writing stamina in kindergarten.
Frequently Asked Questions About Preschool Cutting Skills
When should a child start using scissors?
Most toddlers are ready for basic paper strip snipping between ages 2.5 and 3. Always start with adult supervision, blunt safety scissors, and thick cardstock strips that don’t flap around.
How do I help a left-handed child with scissor skills preschool activities?
Always buy true left-handed scissors, not universal ones. Universal scissors still overlap blades for righties, making it impossible for lefties to clearly see the cutting line.
What if my toddler keeps ripping paper strips instead of cutting?
Ripping usually happens when the paper is too thin or the scissors are dull. Switch to thicker index cards and hold the strip firmly for them while they focus entirely on opening and closing the blades.
How long should cutting practice sessions last?
Keep early practice super short! Five minutes of fun paper snipping is much better than twenty minutes that end in tears and hand fatigue. Stop while they are still having fun.