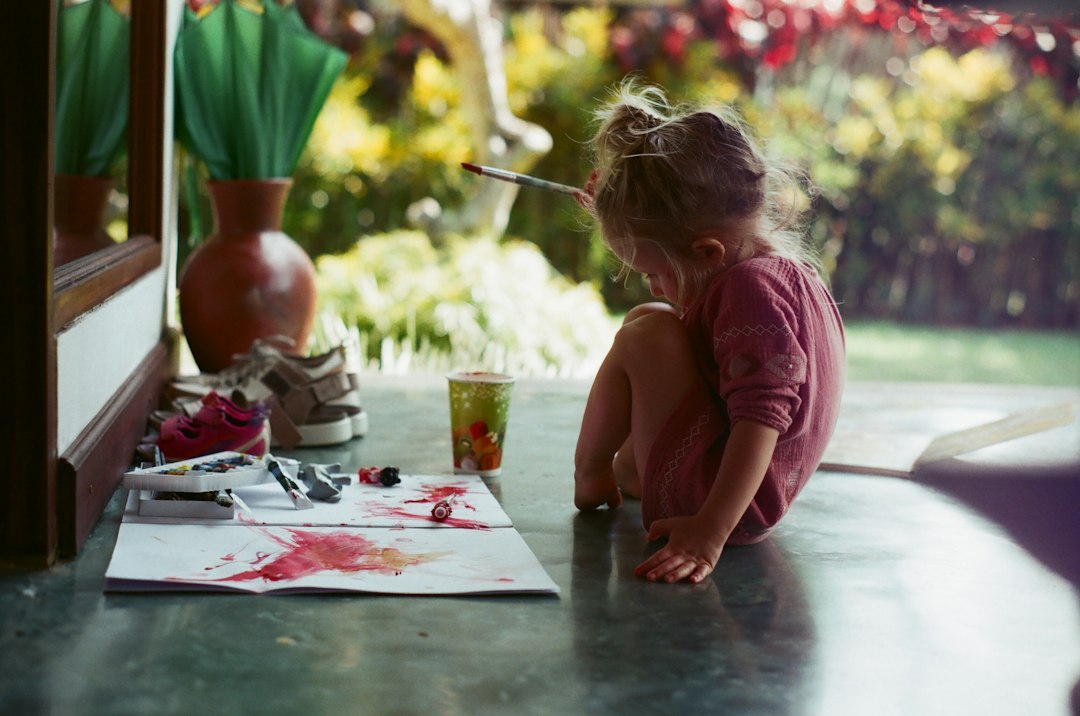

Tired of Toddler Crafts Ending in Five Seconds?
Tired of setting up elaborate craft stations only for your toddler to lose interest after forty seconds of chaotic scribbling? You are not alone. Most young children struggle with traditional art tools like stiff paintbrushes because their hand muscles are still developing.
Switching out rigid brushes for soft, airy plumed tools changes everything. Introducing painting with feathers transforms quick, frustrating paint sessions into deeply engrossing sensory play that holds their attention.
Setting Up Your Feather Painting Station for Maximum Engagement
Setting up a low-mess environment takes less than five minutes. You do not need fancy supplies or expensive art kits to create a memorable tactile experience.
- Craft Feathers: Gather a variety of shapes, sizes, and textures, including fluffy boa pieces, stiff quill feathers, and wide craft plumes.
- Washable Tempera Paint: Pour small dollops of vibrant, non-toxic paint onto a flat shallow tray or paper plate.
- Heavy Cardstock or Watercolor Paper: Standard printer paper tears instantly when wet, so choose thicker stock that handles moisture well.
- Painter Tape: Secure the paper firmly to the table or highchair tray to keep it from sliding around while your child creates.
By offering a shallow tray of paint, you limit excess mess while encouraging deliberate dipping and stamping movements.
How Painting with Feathers Boosts Fine Motor Control
Traditional markers require a specific pincer grasp that can tire small hands quickly. Feathers offer flexible grip options that adapt to your child’s natural physical abilities.
When toddlers experiment with painting with feathers, they naturally try out different hand positions. They might pinch a thin quill between two fingers or wrap their entire palm around a larger plume.
Step-by-Step Play Instructions for Painting with Feathers
Rather than directing your child on what to draw, guide them through open-ended exploration. Here is how to keep the activity engaging and pressure-free:
- Tactile Warm-Up: Before opening the paint, let your toddler brush the dry feathers across their cheeks, arms, and hands to feel the soft texture.
- Dipping and Dragging: Show them how dipping the tip of a feather into paint creates soft, whispery strokes across the paper.
- Stamping and Flicking: Encourage your child to press the flat side of the feather down or flick the tip to create dynamic speckles and broad prints.
- Comb and Sweep: Turn stiff quill feathers on their side to drag linear grooves through thick dollops of paint on the page.
According to developmental guidance from Zero to Three, rich sensory experiences like these play a vital role in building brain connections and early problem-solving skills.
Unlocking Creativity Through Process Art Preschool Methods
Early childhood educators heavily emphasize the concept of process art. Unlike product-focused crafts where every child makes an identical pumpkin or turkey, process art centers entirely on the journey of creation.
Integrating this approach into a process art preschool curriculum allows children to make self-directed choices without fear of making a mistake. There is no right or wrong way to hold a feather or spread paint across a canvas.
When children realize there is no expectation to produce a recognizable picture, their intrinsic motivation skyrockets. They begin testing hypotheses, mixing colors naturally, and investigating cause and effect.
For additional printables and low-prep activity templates to pair with sensory invitations, visit our preschool printable hub for creative classroom resources.
Occupational Therapy Tip: Feather painting forces toddlers to modulate their force output. Pressing too hard flattens the feather, while pressing lightly creates delicate trails. This delicate control builds proprioceptive awareness in tiny finger joints.
Adapting the Activity for Different Sensory Needs
Every toddler processes sensory input differently. Some toddlers dive right into messy play, while others pull back if paint touches their skin.
If your child is sensory-averse, tape the quill end of the feather to a wooden craft stick. This simple modification creates a clean handle, keeping their fingers dry while allowing full participation in sensory play.
For sensory-seeking children, encourage full-hand exploration. Let them paint their own palms with the soft feathers or swirl colors directly on a wipeable tray using light, sweeping motions.
Frequently Asked Questions About Feather Art
How do I choose the best feathers for painting with feathers?
Combine soft, fluffy craft feathers with stiffer, structured quills. Fluffy feathers create wide, textured clouds of color, while stiffer quills allow children to scratch detailed lines and dots into wet paint.
What if my child tries to put paint-covered feathers in their mouth?
Always use non-toxic, washable tempera paint or homemade edible paint made from yogurt and natural food coloring. If your toddler is in a heavy mouthing phase, sit directly beside them and offer a clean teether in one hand while they hold the feather with the other.
Can I reuse craft feathers after a painting session?
Yes! Simply rinse washable paint off the feathers under lukewarm running water immediately after play. Lay them flat on a towel to dry, then gently fluff the barbs with your fingers once dry to reuse them again.
Looking for Meaningful Learning Activities?
Bring calm, screen-free learning to your home or classroom with our beautifully designed printable packs, coloring pages, and early learning games.
Daily parenting tips & new printable drops:
@preschoolprintable