
Learning to use scissors requires an incredible amount of focus and hand-eye coordination from little learners. Providing clear, thick lines with fun seasonal targets at the end keeps them motivated to snip all the way across the page without getting discouraged.
Why Preschool Scissor Practice Is Such a Huge Developmental Milestone
Learning to cut with scissors is one of the most complex fine motor skills a young child will tackle. It seems simple enough to adults, but for a preschooler, it requires an incredible amount of neurological and physical coordination.
Think about everything happening at once when a child holds scissors:
- Bilateral Integration: One hand holds the paper steady and rotates it, while the preferred hand opens and closes the scissors independently.
- Hand-Eye Coordination: The eyes must track the line while the brain directs the hand muscles to adjust the angle of the blades.
- Intrinsic Hand Strength: The tiny muscles in the palm and fingers must work together to squeeze and release the handles repeatedly.
- Visual-Motor Integration: The child must judge spatial relationships so they stay on the line rather than veering off the page.
According to research highlighted in CDC’s child development guidelines, mastering fine motor tasks like holding safety scissors builds the exact neural pathways needed for early handwriting and self-care tasks like zipping coats and buttoning shirts.
Why Halloween Cutting Strips Work Better Than Full Worksheets
Have you ever handed a three-year-old a full sheet of paper with a giant circle drawn in the middle? Usually, one of two things happens. Either the paper flops around limply in their non-dominant hand, causing complete frustration, or they end up cutting off giant chunks until the whole paper disappears into confetti.
Full-page cutting tasks are often overwhelming for early learners. Their hand muscles tire out before they reach the finish line.
This is where narrow paper strips save the day.
Cutting strips are typically 1.5 to 2 inches wide. Because the paper is short, a child only needs to perform one or two quick snips to cut straight through. This gives them an immediate boost of confidence!
When you add spooky seasonal graphics—like helping a tiny spider crawl to its web or guiding a ghost toward a haunted house—you add a visual target that keeps children laser-focused on where their scissors need to go.
Using Halloween Cutting Strips for Step-by-Step Preschool Scissor Practice
Not all preschool scissor practice is created equal. Children progress through fine motor stages at vastly different rates. A activity that empowers a five-year-old might completely overwhelm a young three-year-old.
The beauty of printable strips is that you can easily differentiate the difficulty based on where each child is in their developmental journey.
Level 1: Straight Line Single Snips (Beginner)
For kids who are just starting out, straight vertical lines are the gold standard. Printed lines on these halloween cutting strips should be short enough that one squeeze of the blade cuts the picture free.
Think of simple cut-offs: snipping square Jack-o’-lantern teeth or cutting apart candy corn patterns. Success happens in seconds, building momentum without exhausting tiny fingers.
Level 2: Diagonal and Zigzag Lines (Intermediate)
Once a child masters the straight snip, their brain is ready for directional changes. Zigzag lines are fantastic because they teach kids how to stop blade movement, turn the paper with their non-dominant hand, and start cutting again in a new direction.
Frame these as spider webs, pointy witch hats, or sharp monster teeth. Preschoolers love the tactile feedback of turning the strip to conquer the sharp angles.
Level 3: Curved and Wavy Lines (Advanced)
Curved lines require maximum wrist flexibility and smooth bilateral control. The paper-holding hand must slowly rotate the paper in a fluid movement while the dominant hand continues a steady cut-and-release rhythm.
Use fun stories to motivate them! Guide a floating ghost along a wavy wind line or trail a flying broomstick through the night sky. The narrative element transforms physical practice into a imaginative game.
Teacher Pro-Tip: The ‘Thumbs-Up’ Sticker Trick
Is a child turning their scissor hand upside down like an eagle talon? Draw a quick smiley face on their thumb nail, or stick a tiny pumpkin sticker right on top of their thumb. Tell them: ‘Keep the pumpkin looking up at the ceiling!’ If the pumpkin turns toward the floor, they know it’s time to readjust their grip.
How to Set Up an October Fine Motor Station
Setting up an inviting fine motor tray takes less than five minutes, but it can keep preschoolers quietly engaged for half an hour. Here is a simple setup you can assemble at home or in the classroom:
- A Tray with Borders: Use a shallow wooden tray or plastic cafeteria tray. This keeps paper scraps contained so your floor stays clean.
- Child-Safe Scissors: Provide blunt-tip metal safety scissors for kids who have good grip control, or loop/spring-loaded scissors for children who need assistance pushing the blades back open.
- Themed Cutting Strips: Print several varieties of lines on bright orange, purple, green, and black construction paper. Thick paper like cardstock provides stiffer resistance, making it much easier for beginners to cut than floppy copy paper.
- Gluesticks and Scrapbooks: Give those cut-up pieces a second life! Children love gluing their snipped Halloween pictures onto blank paper to create chaotic autumn collages.
If you want to grab ready-to-print activities like these for your classroom, be sure to explore our free printable worksheets library for instant autumn learning resources.
Creative Ideas for Scrap Paper Snippets
Don’t throw away those hundreds of tiny paper scraps piling up at the bottom of your cutting station! Repurposing the scraps adds an extra layer of fine motor work and sense of accomplishment.
- Halloween Confetti Sensory Bin: Dump all the snipped paper pieces into a plastic tub filled with mini plastic spiders, scoops, and mini cauldrons. It turns into an incredible tactile sensory bin!
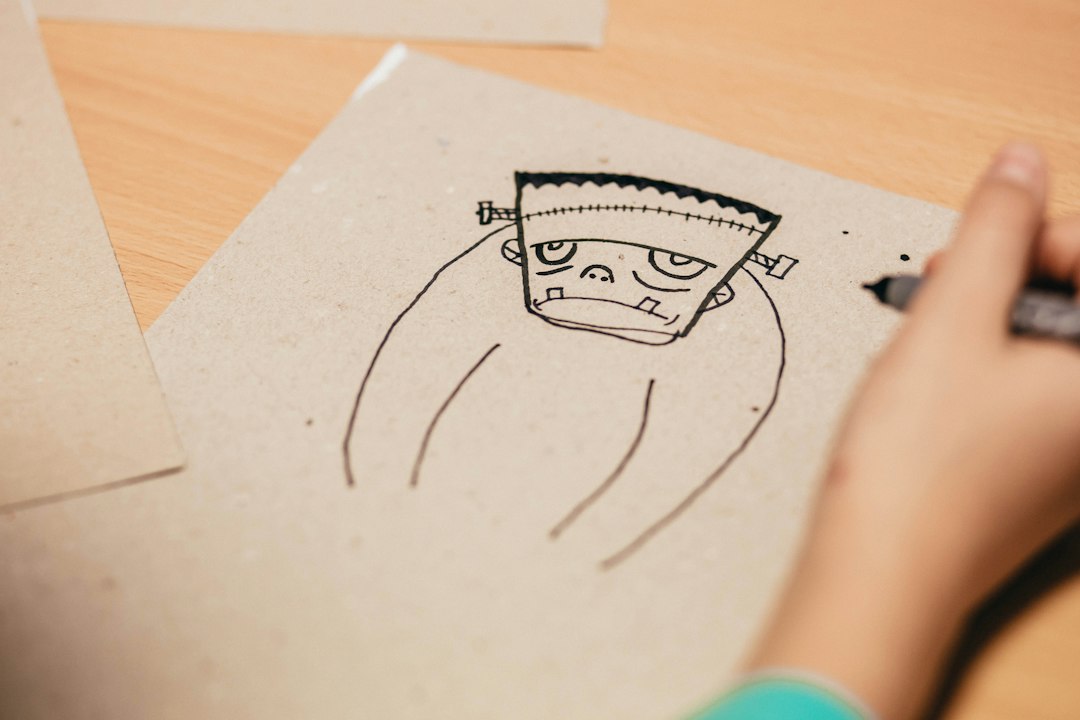
- Frankenstein Haircut Craft: Glue paper strips across the top of a green paper plate face, then let your child play ‘barber’ by trimming green Frankenstein hair to different lengths.
- Paper Loop Chains: Save longer straight strips and help children glue the ends together to craft festive orange and black countdown chains for Halloween night.
Frequently Asked Questions
What age should I start preschool scissor practice?
Most children are ready to explore scissors between ages 2.5 and 3. Start with snippet-friendly materials like playdough snakes or stiff cardstock strips. Always provide continuous adult supervision and use blunt-tip safety scissors.
Why are halloween cutting strips so effective for beginners?
Cutting strips limit the physical demands of paper holding. Because the paper is narrow, children don’t struggle with floppy sheets. They get instant visual feedback and quick completion, which reduces frustration and boosts confidence.
How do I correct a child who cuts with two hands?
If a child uses both hands on the scissor handles, their hand muscles may lack the strength to operate the blades independently. Offer loop scissors (which bounce open automatically) or practice squeezing spray bottles and hole punches to build grip strength first.
Build Fine Motor Confidence One Snip at a Time
Scissor skills don’t develop overnight, and that is perfectly okay. Every single snip builds muscle memory, finger strength, and spatial confidence.
By bringing festive seasonal themes into your daily routine, you make the repetitive physical work feel exciting and meaningful. Grab some safety scissors, print out a stack of spooky strips, and watch your preschoolers beam with pride as they conquer those lines!
Looking for Meaningful Learning Activities?
Bring calm, screen-free learning to your home or classroom with our beautifully designed printable packs, coloring pages, and early learning games.
Daily parenting tips & new printable drops:
@deargru_official