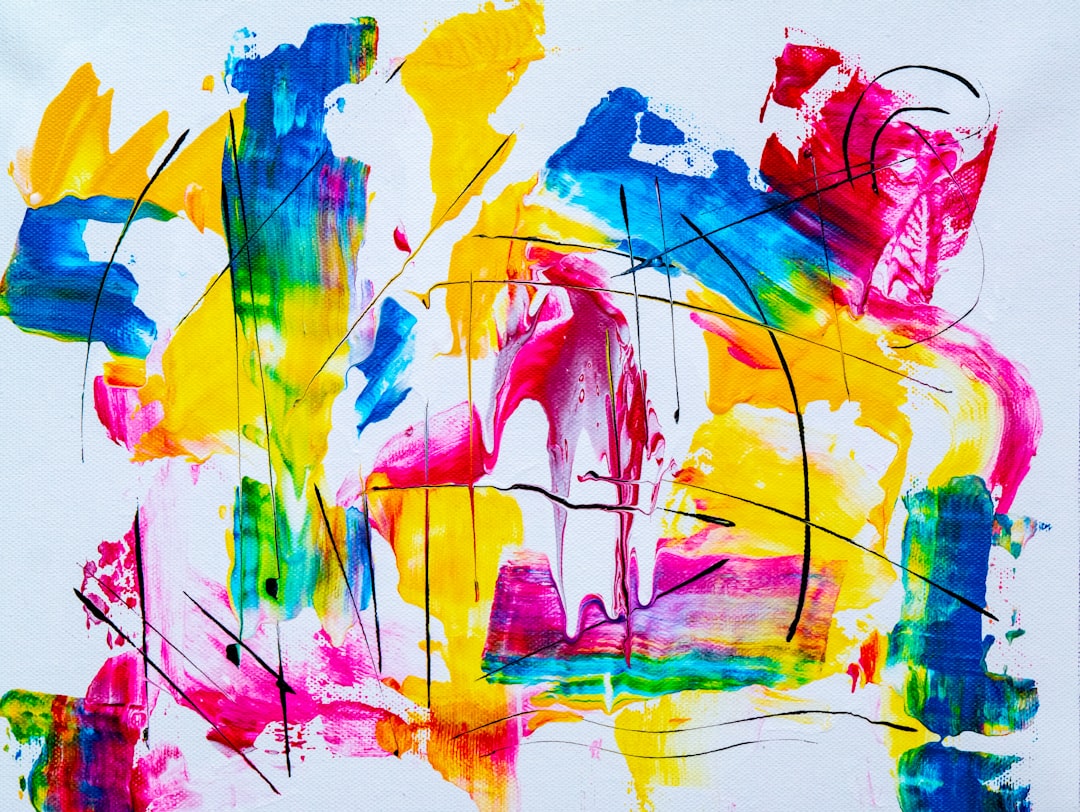
Finger painting is the ultimate sensory art experience, but it also serves a developmental purpose. Using individual fingers to stamp leaves isolates specific digits, which is crucial for building the precise muscle control needed for handwriting.
Why Fall Tree Finger Painting Belongs in Your Autumn Curriculum
Process art is all about the journey, not the final product. When children dip their fingertips directly into paint, they are exploring textures, temperatures, and cause-and-effect relationships firsthand. There are no brush handles getting in the way of their tactile feedback.
Many parents worry about the mess. That is completely normal! But when you set up your space thoughtfully, tactile activities become manageable and joyful. If you are looking for more structured printables to pair with your messy play days, check out our hands-on preschool activity collection to complement your seasonal unit plans.
A simple project like fall tree finger painting allows children to make bold visual marks using their own bodies. That direct connection between touch and visual result builds confidence fast. It transforms abstract ideas about seasonal change into something they can literally feel under their fingertips.
Essential Supplies for Stress-Free Painting
You do not need an expensive craft kit to create stunning autumn artwork. In fact, keeping things minimal helps kids focus on the process rather than getting overwhelmed by tools. Here is what you need on hand:
- Heavyweight Paper: Standard printer paper will soggy up and tear within seconds under wet paint. Opt for white cardstock or watercolor paper.
- Washable Tempera Paint: Look for non-toxic, washable paint in red, yellow, orange, brown, and a touch of gold or green.
- Painters Tape: Securing the paper to the table prevents it from sliding around while tiny fingers work.
- Paper Plates or Trays: Shallow trays work best as palette surfaces for easy finger dipping.
- Damp Washcloths: Keep a few damp cloths right next to each child for quick finger wipes between color switches.
Setting out the right tools beforehand keeps the stress levels low. When children know where to wipe their hands, they feel more confident experimenting with colors.
Step-by-Step Guide to Fall Tree Finger Painting
Ready to make some autumn magic? Follow these simple steps to guide your little artists through creating their own colorful masterpiece.
Step 1: Create the Tree Trunk Foundation
Before the leaf stamping begins, your tree needs a sturdy trunk and branches. You have a few options here depending on the developmental stage of your group:
- Handprint Trunk: Paint the child’s forearm and hand with brown tempera paint, then press it onto the paper. The forearm becomes the trunk, and the spread fingers become the main branches.
- Child-Drawn Trunk: Let older preschoolers use brown washable markers or paintbrushes to draw their own thick trunk and sweeping branches.
- Construction Paper Cutout: Trace a simple tree silhouette onto brown paper, cut it out, and let the child glue it onto their main sheet.
Step 2: Set Up the Autumn Color Palette
Squirt small blobs of red, yellow, and orange paint onto a paper plate. Place the primary autumn colors near each other so they subtly touch at the edges. This setup naturally invites spontaneous color mixing when fingers start tapping.
Step 3: The Finger Stamping Technique
Demonstrate how to tap the pad of a single index finger into the paint. Show them how to make gentle, firm presses onto the paper right around the top branches of the tree. Dip. Stamp. Lift. Repeat.
Encourage children to use different fingers! Thumbprints create large, robust leaf clusters. Pinky prints make delicate, tiny leaves fluttering near the outer edges. Using every finger stretches different muscles in the hand.
Step 4: Add Ground Details and Falling Leaves
Remind your little painters that autumn leaves do not just stay on the branches! Show them how to stamp little dots floating through the air and layering along the bottom of the page. A thick layer of red and yellow dots at the base of the trunk creates a cozy pile of fallen foliage.
Teacher Pro Tip: If a child hesitates to put their bare fingers in wet paint, never force them. Offer a pom-pom pinched in a wooden clothespin or a Q-tip as a gentle bridge into sensory art. Most kids will transition to using their hands once they feel safe!
How Fine Motor Art Preschoolers Create Builds Real Brain Power
Finger painting might look like simple play, but under the surface, serious developmental work is happening. The physical mechanics involved in pressing individual fingers onto paper target key developmental milestones.
According to NAEYC’s insights on sensory play, hands-on artistic experiences build spatial reasoning, language skills, and foundational motor planning. When young children press their fingertips onto paper, they build the intrinsic muscles of the hand. These are the very same muscles needed later on for holding a pencil, using scissors, and buttoning a coat.
Finger Isolation and Separation
Using just one finger at a time requires finger isolation. This motor control skill takes time to master. Young toddlers usually move their entire hand as one unit. Asking them to extend only their index finger strengthens neural pathways between the brain and individual hand muscles.
Bilateral Coordination
Watch a child during a fall tree finger painting session. One hand holds the paper steady while the other dips and stamps. That ability to coordinate both sides of the body simultaneously is known as bilateral coordination. It is a critical prerequisite for reading, writing, and sports.
Sensory Integration and Color Theory
Feeling wet, cool paint spread across skin provides powerful sensory input. As kids press yellow dots over red dots, they visually observe orange emerging right before their eyes. That real-time discovery anchors basic color mixing concepts far better than any flashcard ever could.
Adapting the Activity for Different Skill Levels
Every child develops at their own pace. Here is how you can easily modify this project so every child in your care experiences success.
For Young Toddlers (Ages 18 Months – 2 Years)
Focus purely on tactile exploration rather than a recognizable tree shape. Pre-draw a large, thick brown trunk on heavy paper. Focus on broad handprints and thumbprints. If your toddlers still put everything in their mouths, swap tempera paint for Greek yogurt mixed with natural food coloring!
For Preschoolers (Ages 3 – 4 Years)
At this stage, children can follow multi-step directions. Encourage them to create pattern clusters—three red dots, three yellow dots, three orange dots. Ask open-ended questions like, “Where is the wind blowing your leaves today?” to foster creative storytelling while they paint.
For Pre-K and Kindergarteners (Ages 5+)
Challenge older children to experiment with shade variations. Add a tiny drop of white or black paint to their palette so they can create tints and shades of autumn foliage. They can also practice drawing intricate trunk details, bark lines, and small woodland creatures hiding beneath the fallen leaves.
Classroom Management Strategies for Messy Art
Love the idea of finger painting but terrified of clean-up time? A little preparation turns potential chaos into a smooth, predictable routine.
- Cover Your Surfaces: Tape down butcher paper, vinyl tablecloths, or plastic garbage bags over your work tables beforehand.
- Limit Paint Amounts: Do not pour huge puddles of paint onto trays. Small, quarter-sized dollops prevent soggy artwork and cut down on waste.
- Set Up a Wash Station: Place a shallow basin of warm, soapy water and a stack of hand towels right near the exit of your art area. Kids can dip and dry before touching doorknobs or furniture.
- Work in Small Groups: Instead of having twenty kids paint all at once, call four to five children over to the art table while others engage in quiet center play.
Frequently Asked Questions
Is fall tree finger painting suitable for toddlers who put things in their mouth?
Yes, absolutely! Just switch out traditional tempera paint for a safe, edible alternative. You can mix plain Greek yogurt or cooked cornstarch paste with food dye or fruit juices (like blueberry or beet juice) to create beautiful, baby-safe autumn colors.
What paint works best for fall tree finger painting?
Non-toxic, washable tempera paint is the absolute gold standard for preschool art. It has a smooth, creamy texture that glides easily across paper, offers vibrant pigments, and washes off skin and clothing with warm water and mild soap.
How does fine motor art preschoolers do help with writing readiness?
Before children can comfortably hold a pencil, they need strong intrinsic hand muscles, good wrist stability, and precise finger isolation. Finger painting develops all three of these areas naturally through tapping, pressing, and dragging motions without the pressure of handwriting drills.
How do I prevent paper from tearing during heavy finger painting?
Use thick paper like 90lb cardstock, watercolor paper, or heavy construction paper. Standard copy paper absorbs moisture too quickly and tears easily under wet little fingers. Taping the edges to the table also keeps paper flat and stable while working.
Wrap-Up: Simple Art, Big Developmental Wins
You do not need complicated materials or elaborate Pinterest setups to create meaningful learning moments. A sheet of paper, a little brown paint for a trunk, and a palette of fiery fall colors are all it takes to keep little minds engaged and small hands growing strong.
So pull out those smocks, tape down some paper, and let those little fingers dive right in. The beautiful masterpiece you hang on the wall at the end of the day is just a bonus—the real magic happens right there in the messy, joyful process!